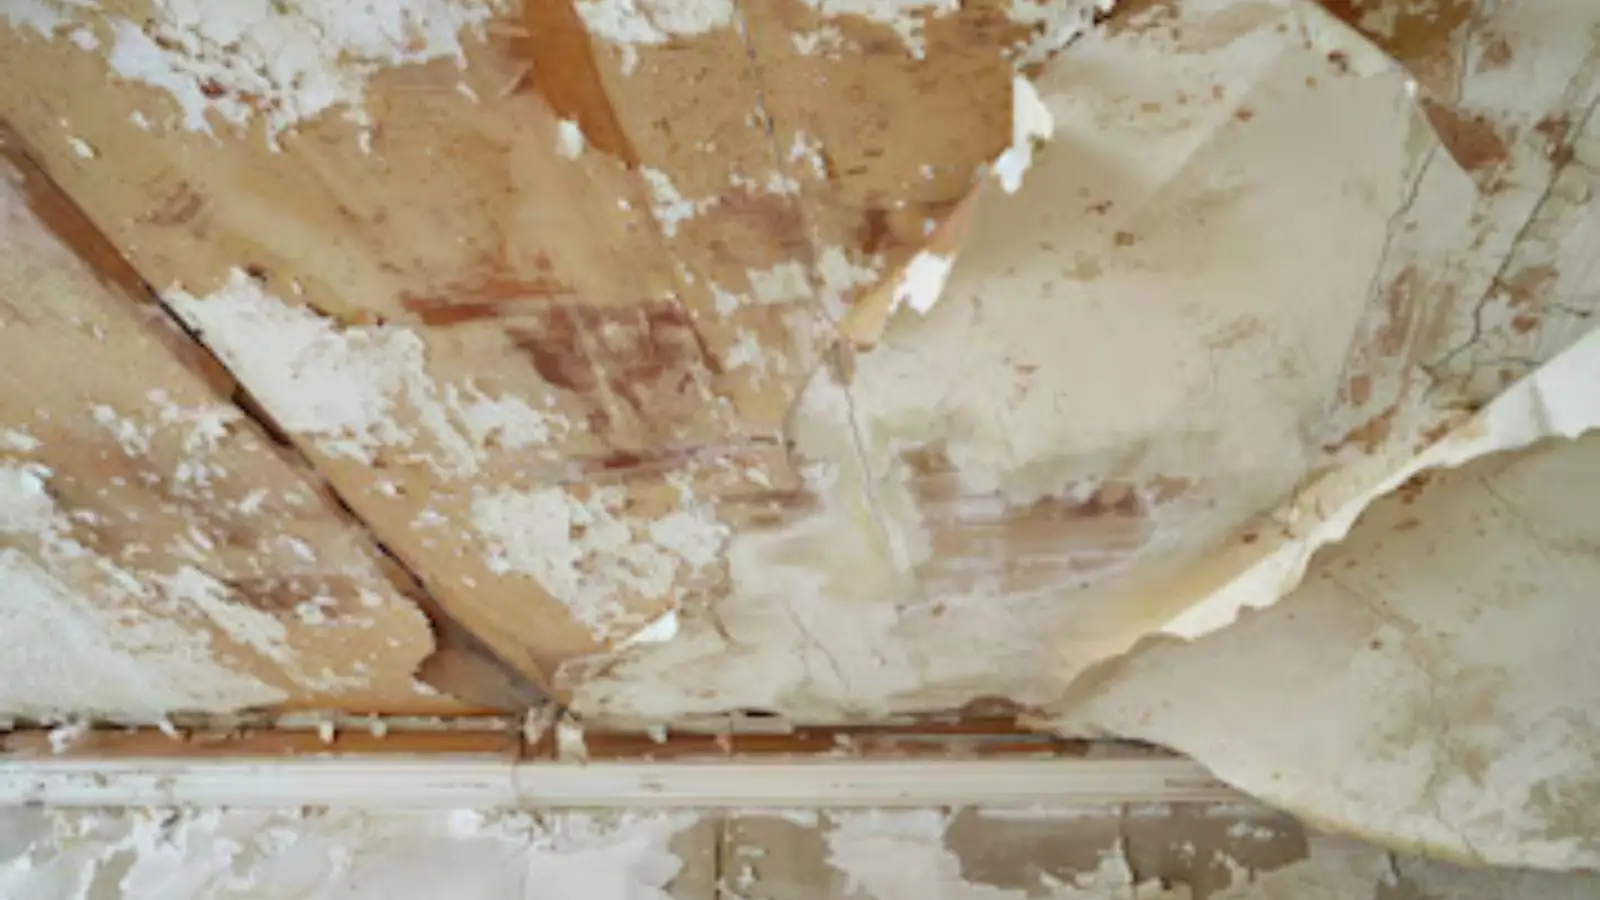
Repairing a water damaged ceiling happens in a set order once the leak is stopped. Confirm the ceiling is dry with a moisture meter, remove drywall that is sagging or stained through, replace wet insulation, patch or hang new board, match the texture, then prime with a stain blocker and paint. A small stain may need only a patch, while a sagging sheet means replacing the whole panel.
If water is still coming through the ceiling right now, stop and read about drying first. Shut off the water if you can, keep clear of electrical fixtures, and call a restoration crew to dry the space before any repair begins. This page picks up after that point.
Confirm the ceiling is truly dry
A ceiling that feels dry to the hand can still hold water in the board and the insulation above it. Repairing too early traps that moisture. Fresh paint and joint compound then sit on top of damp drywall, and the stain or mold feeds right through.
A moisture meter gives the real answer. The crew reads the drywall, the joists above it and the insulation, and compares each reading against a dry part of the house. The EPA advises drying water-damaged areas within 24 to 48 hours to keep mold from starting, so a ceiling that stayed wet longer is a stronger candidate for removal.
Drying typically takes a few days, depending on materials and conditions. If drying equipment is still running, the repair waits. Water mitigation is the stage that covers shut-off, moisture mapping and drying setup before anything gets rebuilt.
Damage level, repair and what drives effort
| Damage level | Usual repair | What drives effort |
|---|---|---|
| Light stain, ceiling firm and dry | Stain-blocking primer and paint | Size of the stain and ceiling color |
| Bubbled or cracked paint, board firm | Scrape, skim coat, prime and paint | Texture and how much paint is loose |
| Soft or sagging patch | Cut out the damaged section and patch | Joist locations and patch size |
| Large sag or multiple stains | Replace the full sheet or several panels | Ceiling height, access and texture match |
| Wet insulation above | Remove and replace insulation | Type of insulation and attic access |
| Mold or Category 2 or 3 water | Remove affected materials and contain the area | Contamination, containment and cleanup |
Cost depends on the factors in the right column rather than on a flat rate. A high vaulted ceiling with a textured finish takes more labor than a flat eight-foot ceiling, even when the stain is the same size. Ask for the scope in writing so you can compare.
Need help with this today?
Dispatch is open 24 hours a day, every day.
The repair steps, in order
- Confirm dry readings in the drywall, joists and insulation.
- Remove sagging, soft or stained-through drywall, cutting back to the nearest joist.
- Replace wet or compressed insulation, and check the framing for staining or damage.
- Hang new drywall or patch the opening, then screw it to the joists.
- Tape and mud the seams, sand smooth and wipe off dust.
- Apply texture to match the surrounding ceiling.
- Prime with a stain-blocking primer, then paint the whole ceiling.
The rebuild is the work described in water damage repair, which covers drywall, insulation and paint after drying. Patch size matters. A small patch can look fine under a flat paint, but a large or visible patch is often best finished by painting the entire ceiling to the corners.
Know what is in an older textured ceiling
Popcorn ceilings in older homes can contain asbestos. Do not scrape, sand or drill into one before it has been tested, and ask your contractor how they handle testing and disposal. If testing finds asbestos, a licensed abatement professional handles the removal.
Dust control matters during the cut and sanding steps. Cover the floor, seal the doorway with plastic, and wear a dust mask and eye protection. Sanding joint compound makes a fine powder that spreads through the whole house if the room is left open.
Matching texture so the patch disappears
Texture is the hardest part of a ceiling repair to hide. Knockdown has flattened peaks, orange peel is a fine spray pattern, and popcorn is a lumpy sprayed finish. Each needs its own tool and a feel for timing.
Aerosol texture cans work for small knockdown or orange peel patches, though they rarely match a whole ceiling. A hopper gun does a better job. Practice on scrap board first, since texture dries a shade lighter and can change under light.
If the old texture is popcorn, treat it with care before touching it. Testing comes first, then a decision to patch, cover or remove. A contractor should be able to tell you what the test showed and why they chose that route.
Primer and paint over a water stain
Water stains bleed through regular paint, often within days. A stain-blocking primer seals the discoloration so the finish coat stays clean. Oil-based and shellac-based products have strong fumes and need ventilation, while newer water-based stain blockers are easier to use.
Prime the patch and a margin of old surface, let it dry, then paint. Use a flat ceiling paint, because it hides surface flaws better than a sheen. Two coats edge to edge keep the repair from flashing in side light.
How long it takes and when to call a pro
There is no single timeline, since it depends on drying, drywall mud and paint drying between coats. A small patch can take a day or two of work spread across drying time. Larger jobs with insulation, texture and full-ceiling paint take longer.
Call a professional when the ceiling sags, the stain keeps growing, wiring or fixtures are involved, or the water came from the bathroom above. Call also if the damage covers more than a small area or if you see mold above about 10 square feet. Homes in Lynnwood and Everett deal with the same wet-season roof and plumbing leaks, so bring photos and the date the leak began.
Mukilteo local note: rain season and structural questions
Mukilteo, like much of Puget Sound, has mild, rainy winters and dry summers. Roof leaks tend to appear in the wet season, so check the attic or ceiling after a long rainy stretch and schedule repairs once the leak is fixed and the space is dry. Drying after a ceiling leak follows the ANSI/IICRC S500 standard for water damage restoration, which has crews dry the structure until readings match a dry reference.
If the repair involves rafters, joists or other structure, the City of Mukilteo's Permit Center page says building permits go through the online Permit Portal. The Planning Department answers how rules apply to a specific property, so call 425-263-8000 before starting framing work.
Frequently asked questions
A moisture meter reading that matches a dry ceiling is the test. Touch alone is not enough.
The insulation and joists above should read dry too.
Yes if the drywall is firm and dry. A sagging, soft or bubbled area is usually cut out first.
A patch that is large or in a bright room often looks better when the whole ceiling is repainted.
Often when it is wet, compressed or contaminated. Dry insulation that was not wet can stay.
It depends on the type and how long it was wet.
Not before testing. Older popcorn ceilings can contain asbestos, so ask a contractor about testing first.
If asbestos is found, a licensed abatement professional handles it.
Sudden and accidental water damage is often covered. Gradual leaks and neglect often are not, so check your policy.
Photograph the damage and keep small samples of discarded material for the adjuster.
During the mild, rainy winter season, which is when roofs and flashing work hardest. A stain that appears after heavy rain points to the roof or an attic penetration.
Check the attic, then ask a roofer or restoration crew to inspect.
Still have a question? Call (425) 592-3399, any hour.